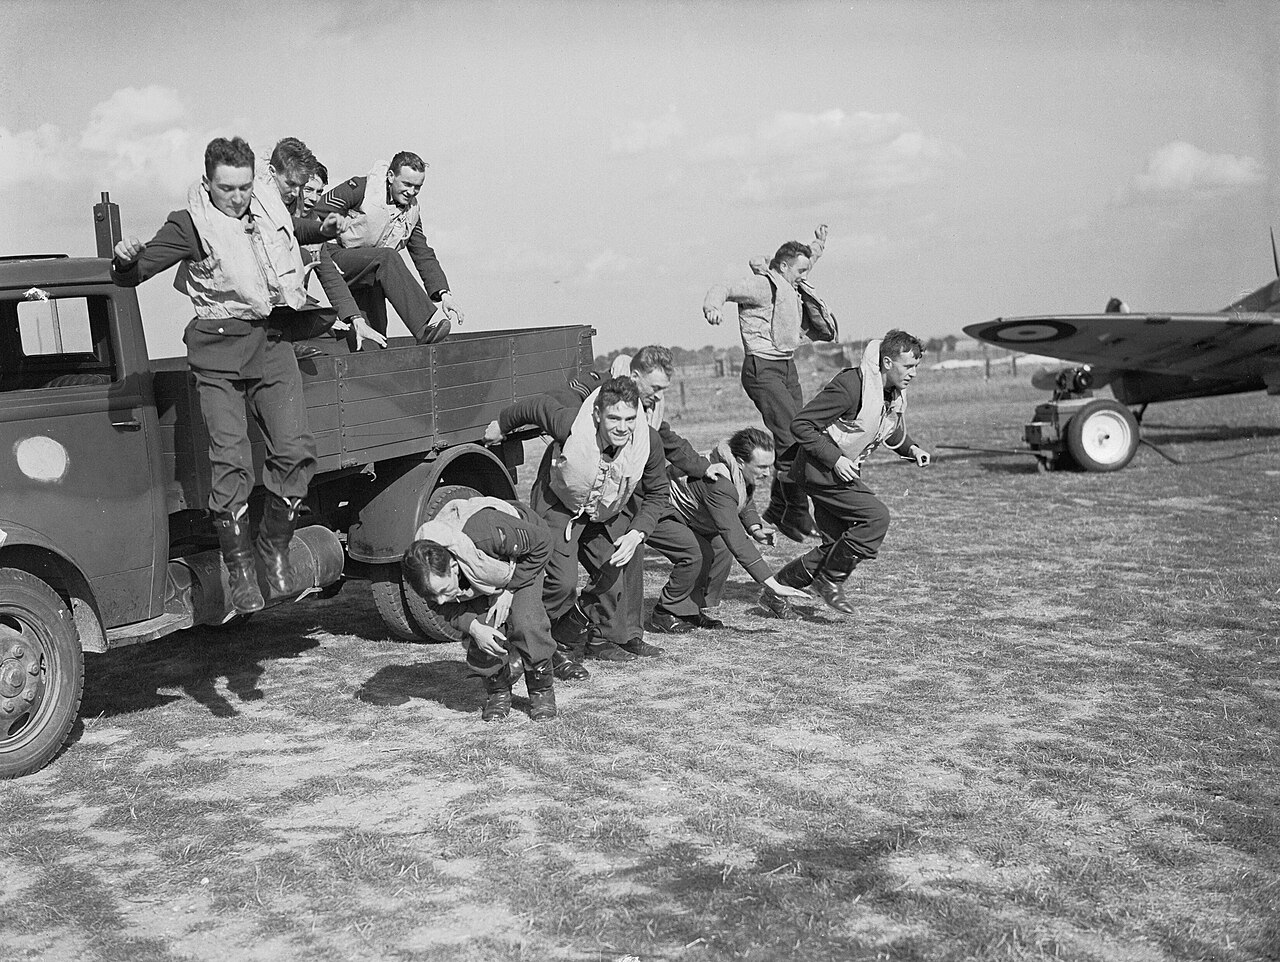
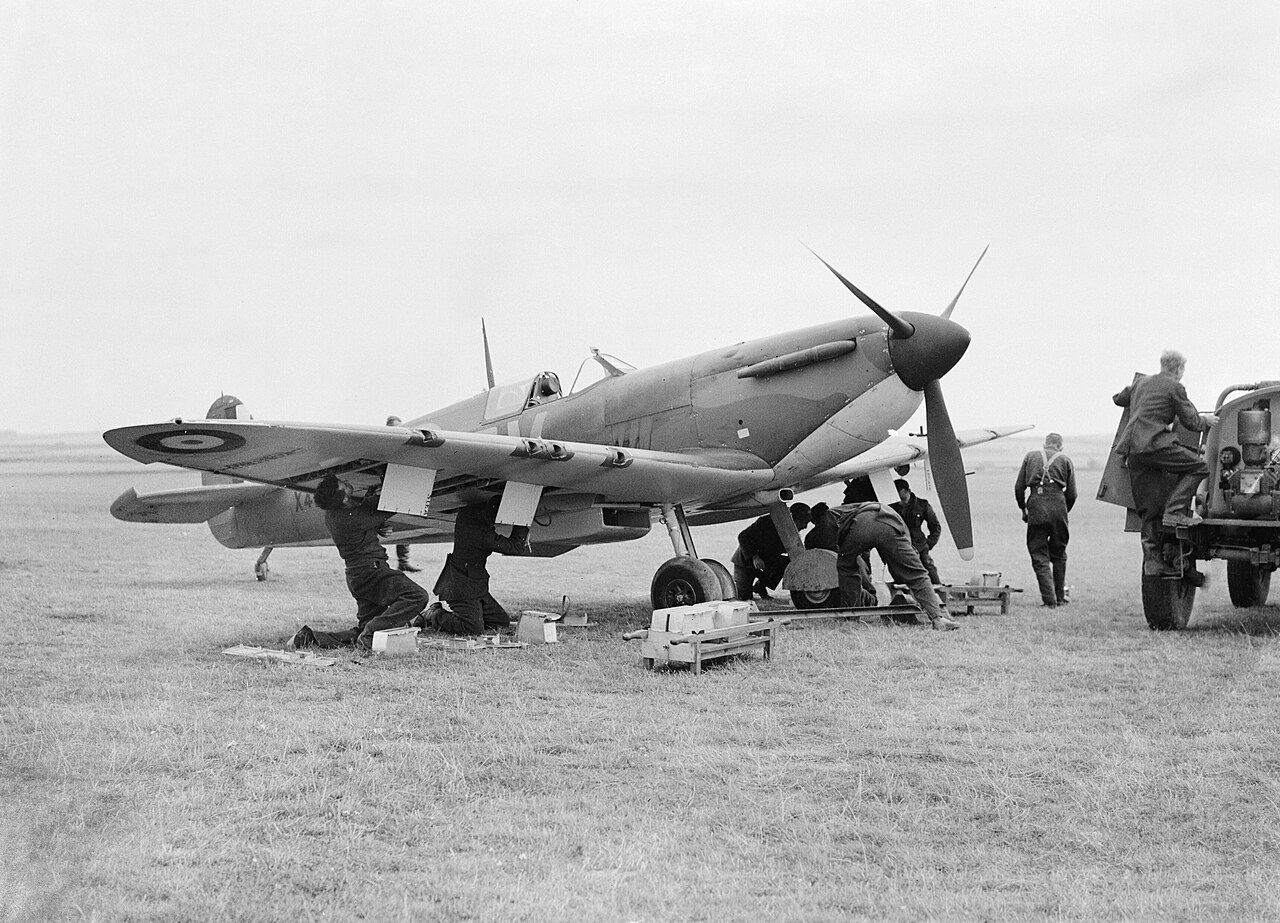
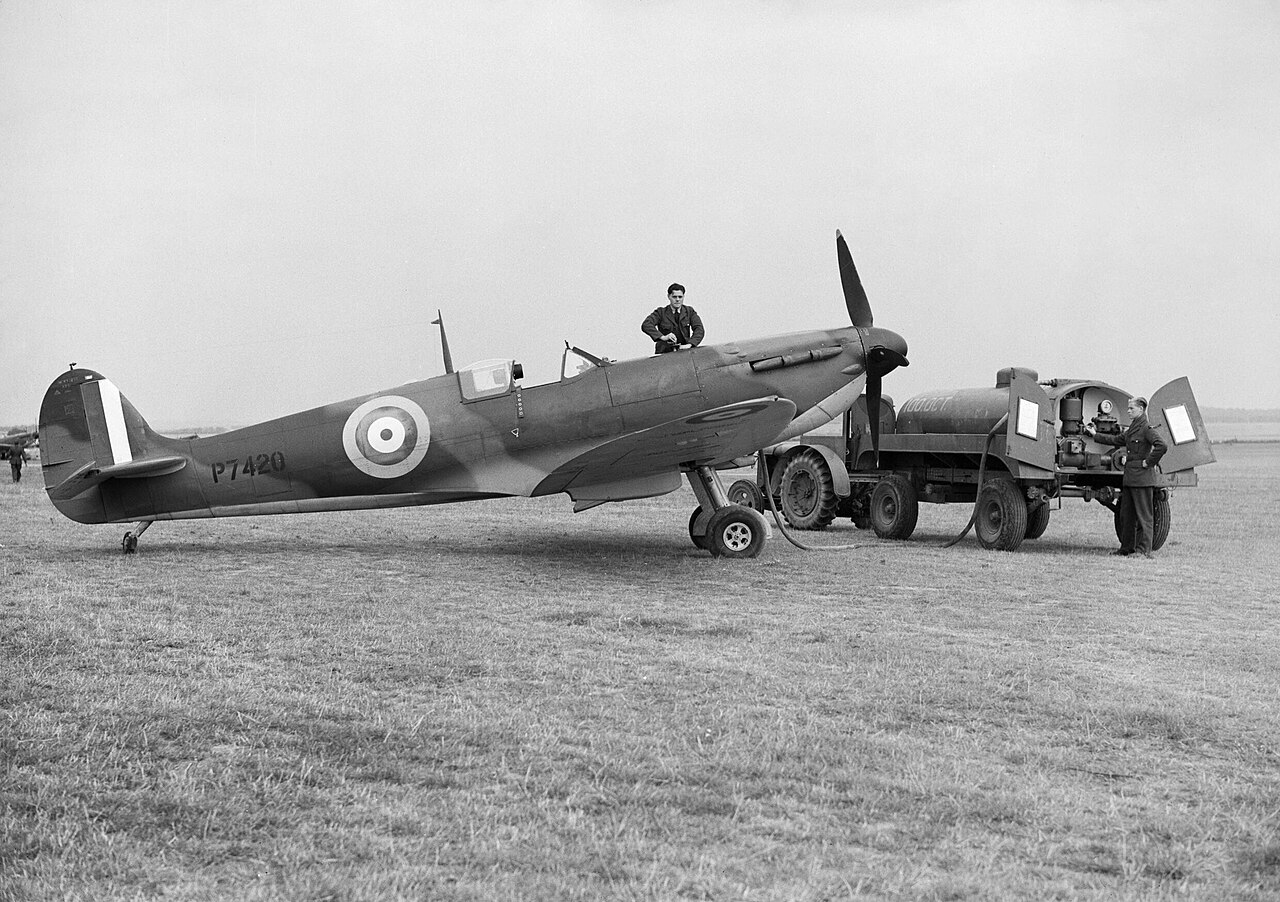
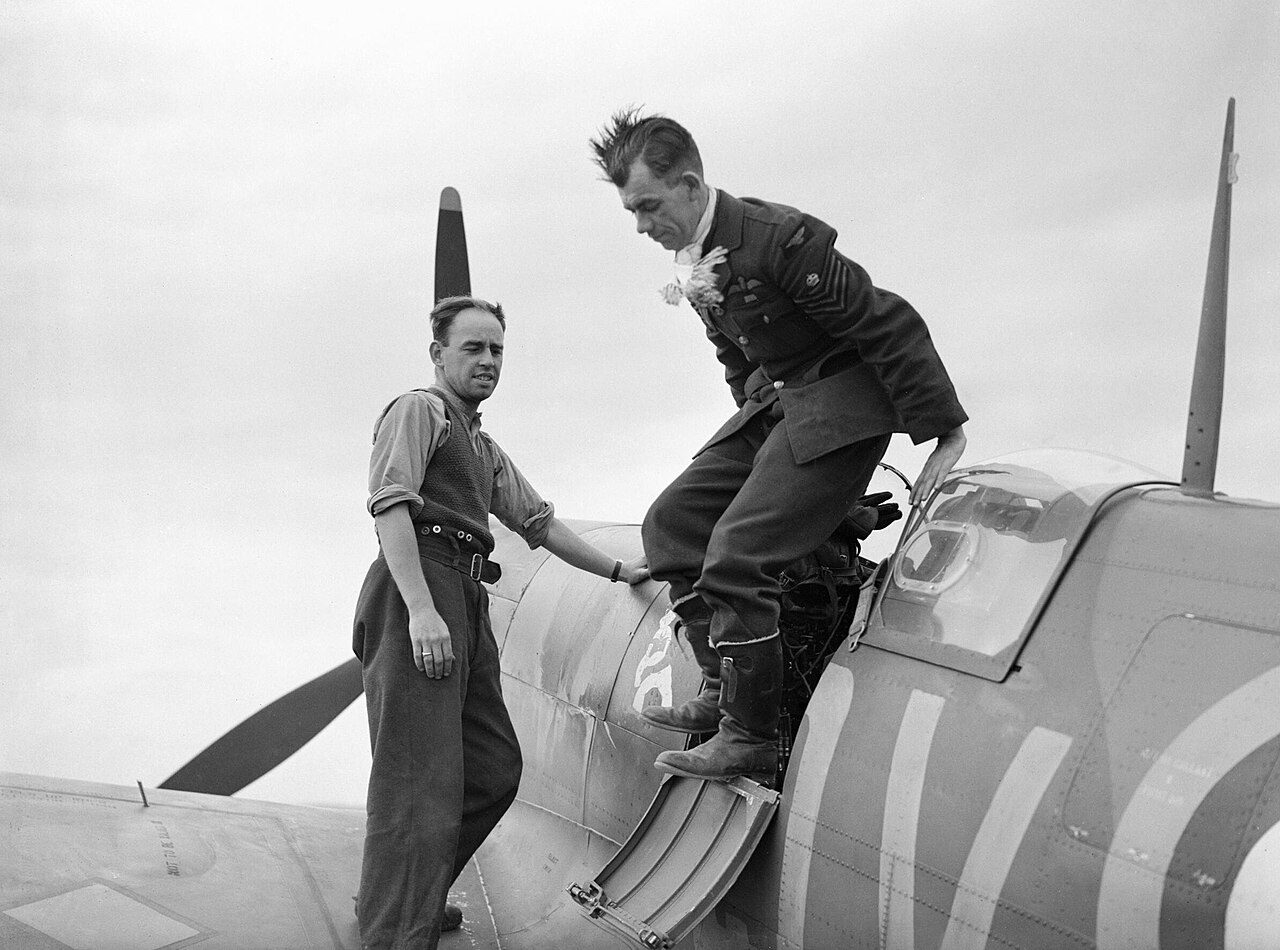
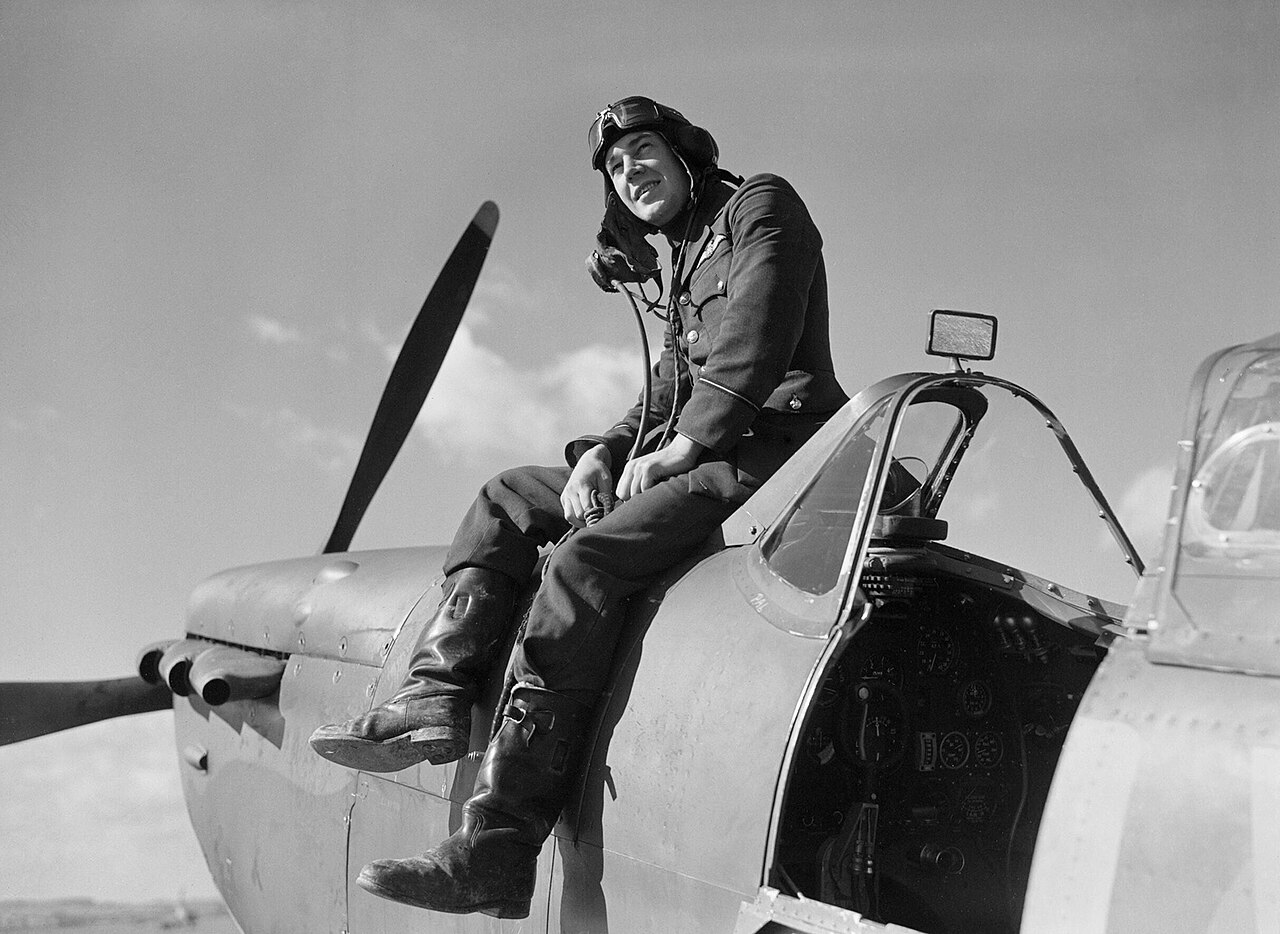
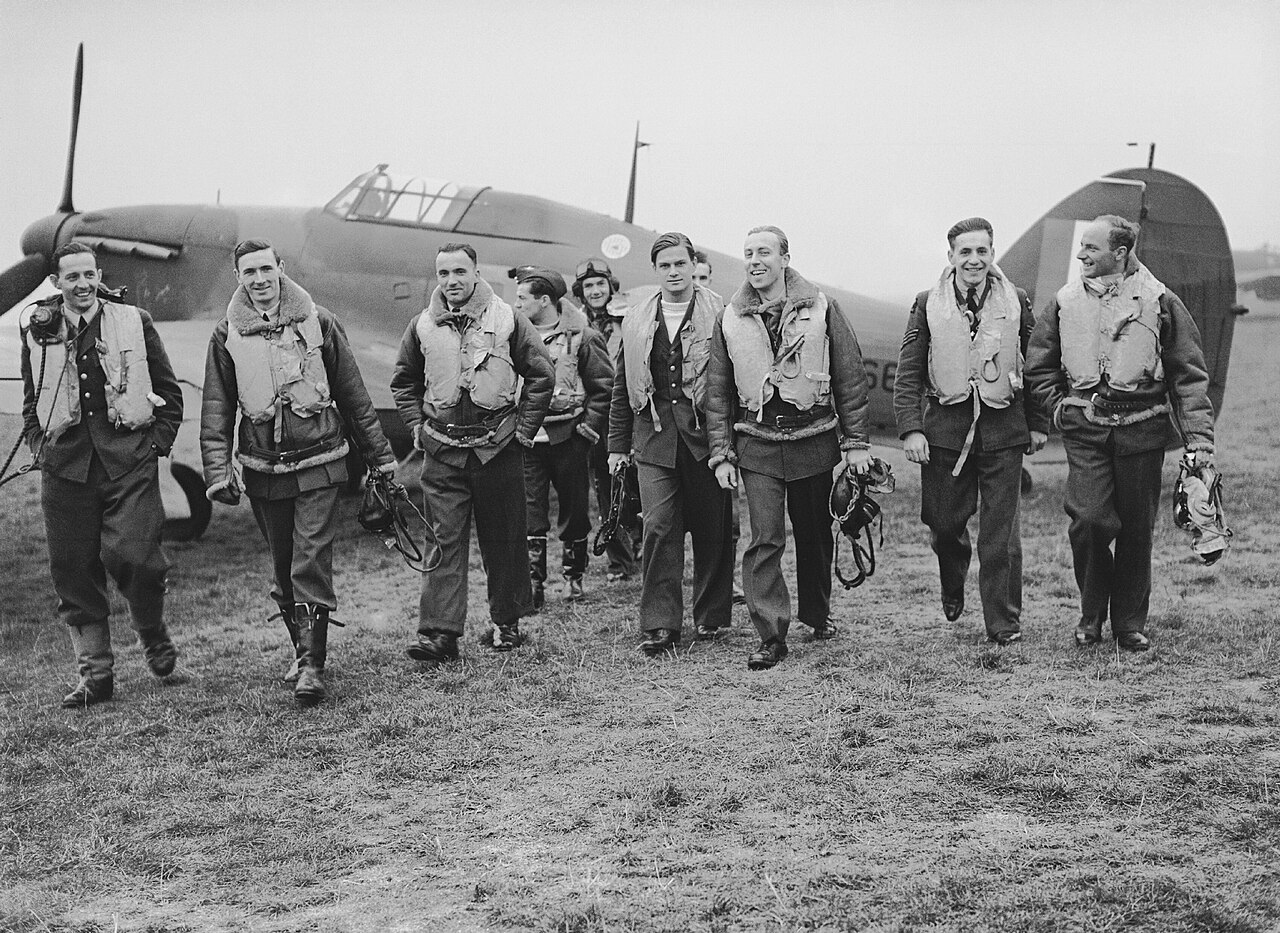
In Fowlmere, Cambridgeshire, September 1940, a photographer named Stanley Devon spent several days at a grass strip near Duxford shooting No. 19 Squadron between sorties: a Spitfire being re-armed, another being refueled, a flight sergeant climbing down from a cockpit he had just flown. Some of the frames were staged, because the Air Ministry wanted pictures. The war they illustrated was real enough. That field fed straight into the largest air battles of the autumn.
By the British reckoning the Battle of Britain ran from July 10 to October 31, 1940. The Luftwaffe went first for Channel convoys, then for the radar stations and the sector airfields Fighter Command could not afford to lose, and then, from September 7, for London. The switch may have saved the airfields. It cost London fifty-seven consecutive nights of bombing.
Roughly 3,000 aircrew flew with Fighter Command over those months and about 540 of them were killed. Close to a fifth were not British: Poles, Czechoslovaks, Canadians, New Zealanders, Australians, Belgians, Free French, South Africans, a handful of Americans. Churchill had already summed it up in August, in a line that outlived every other sentence about the battle: “Never in the field of human conflict was so much owed by so many to so few.”
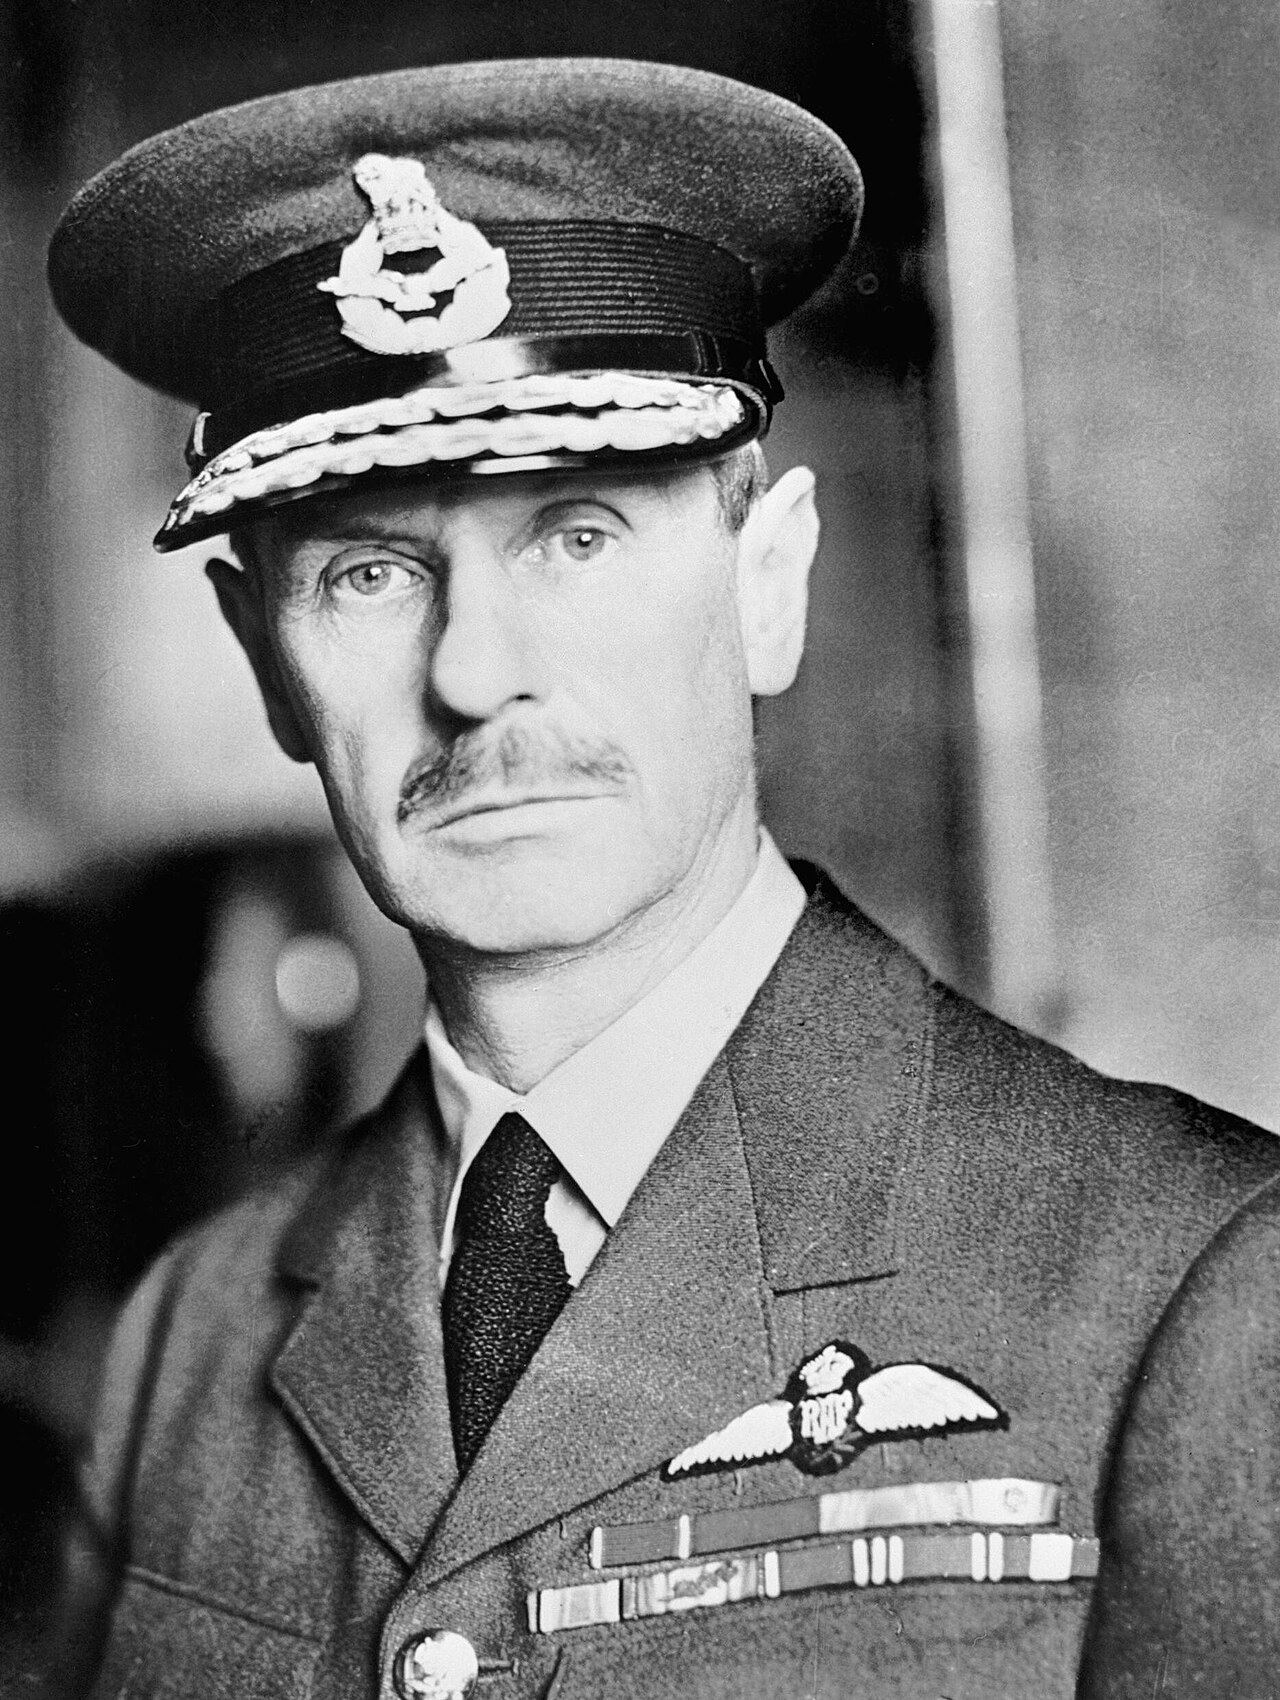
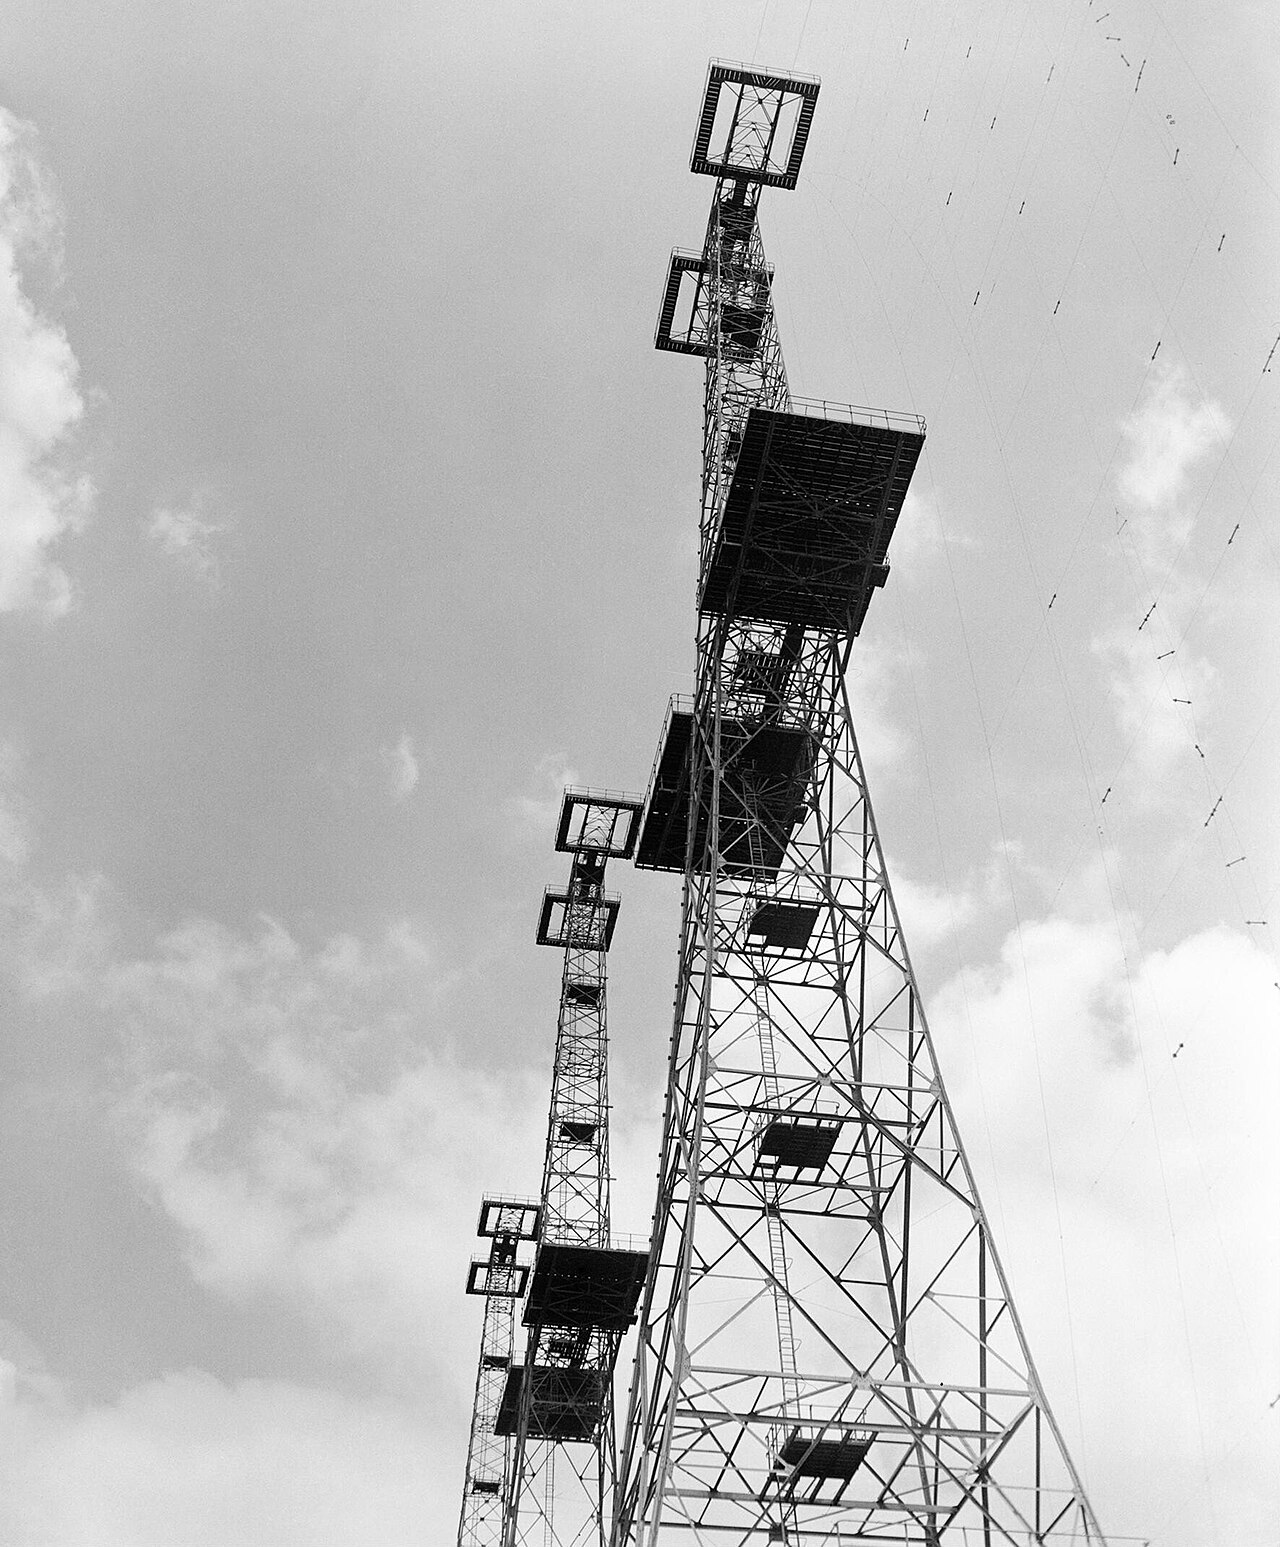
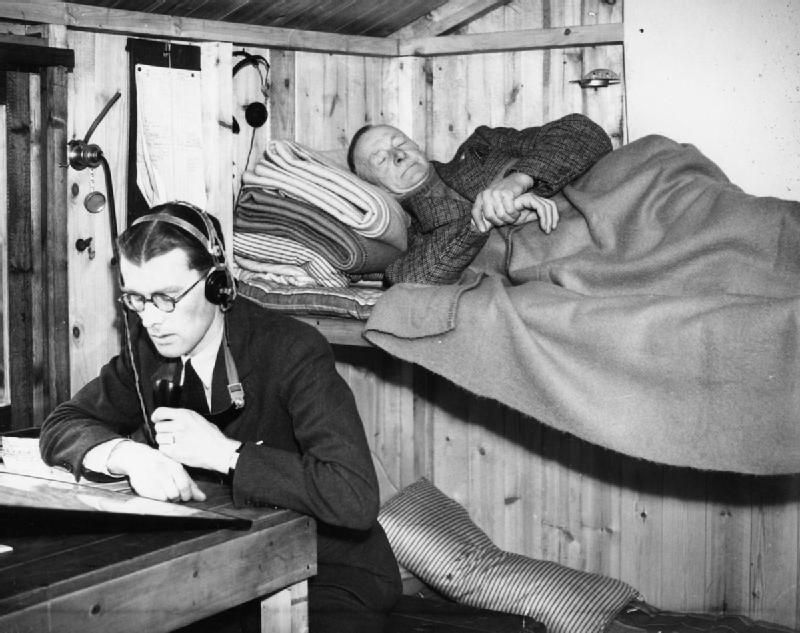
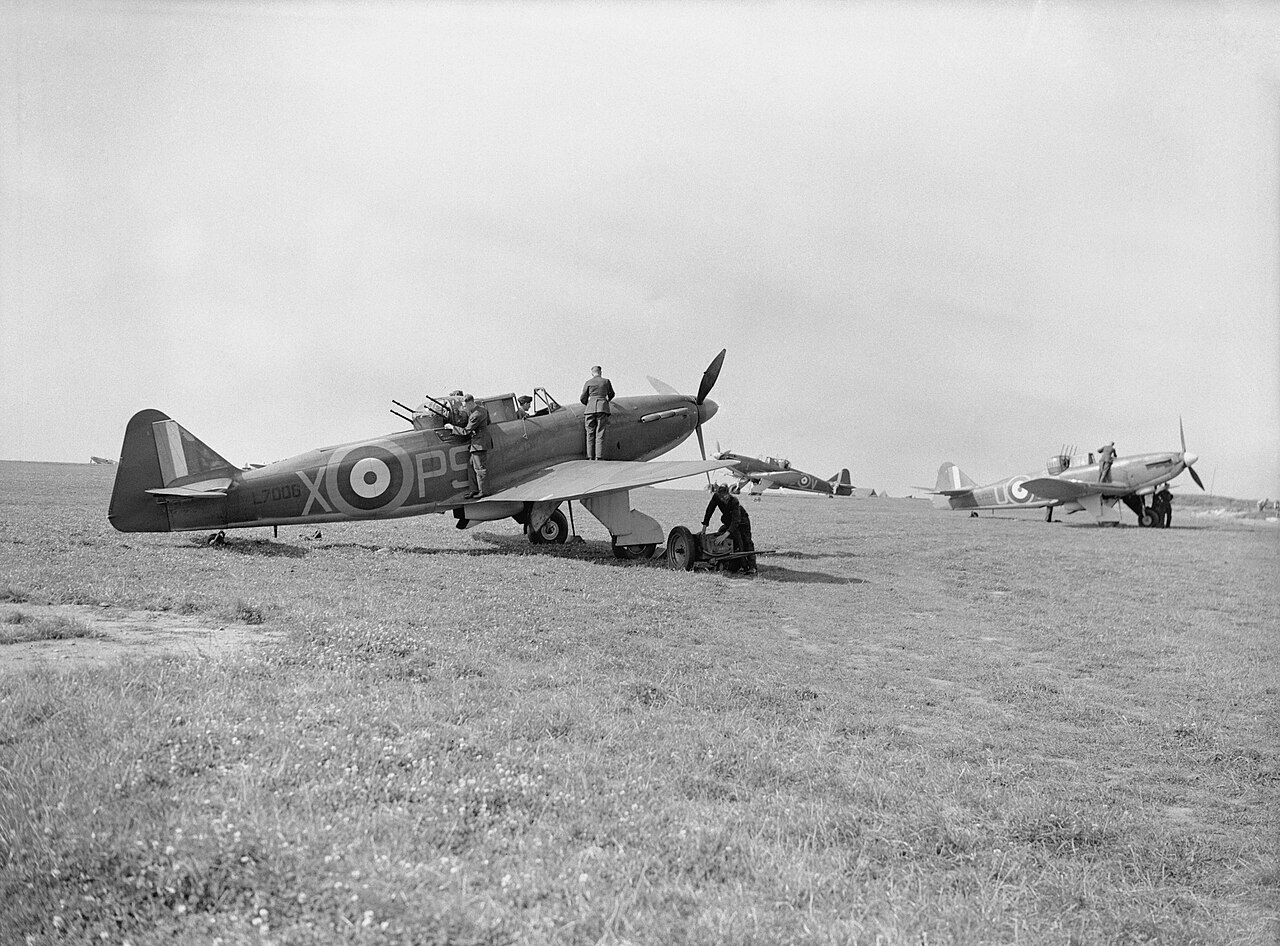
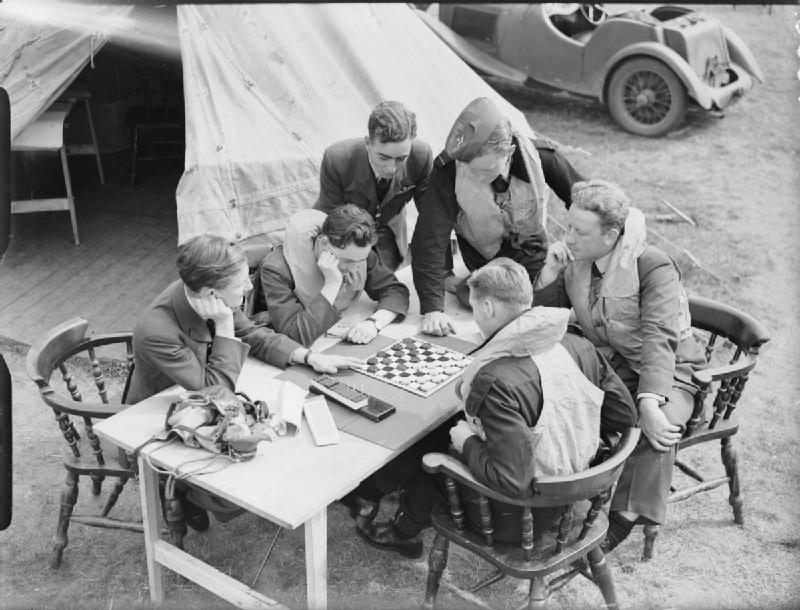
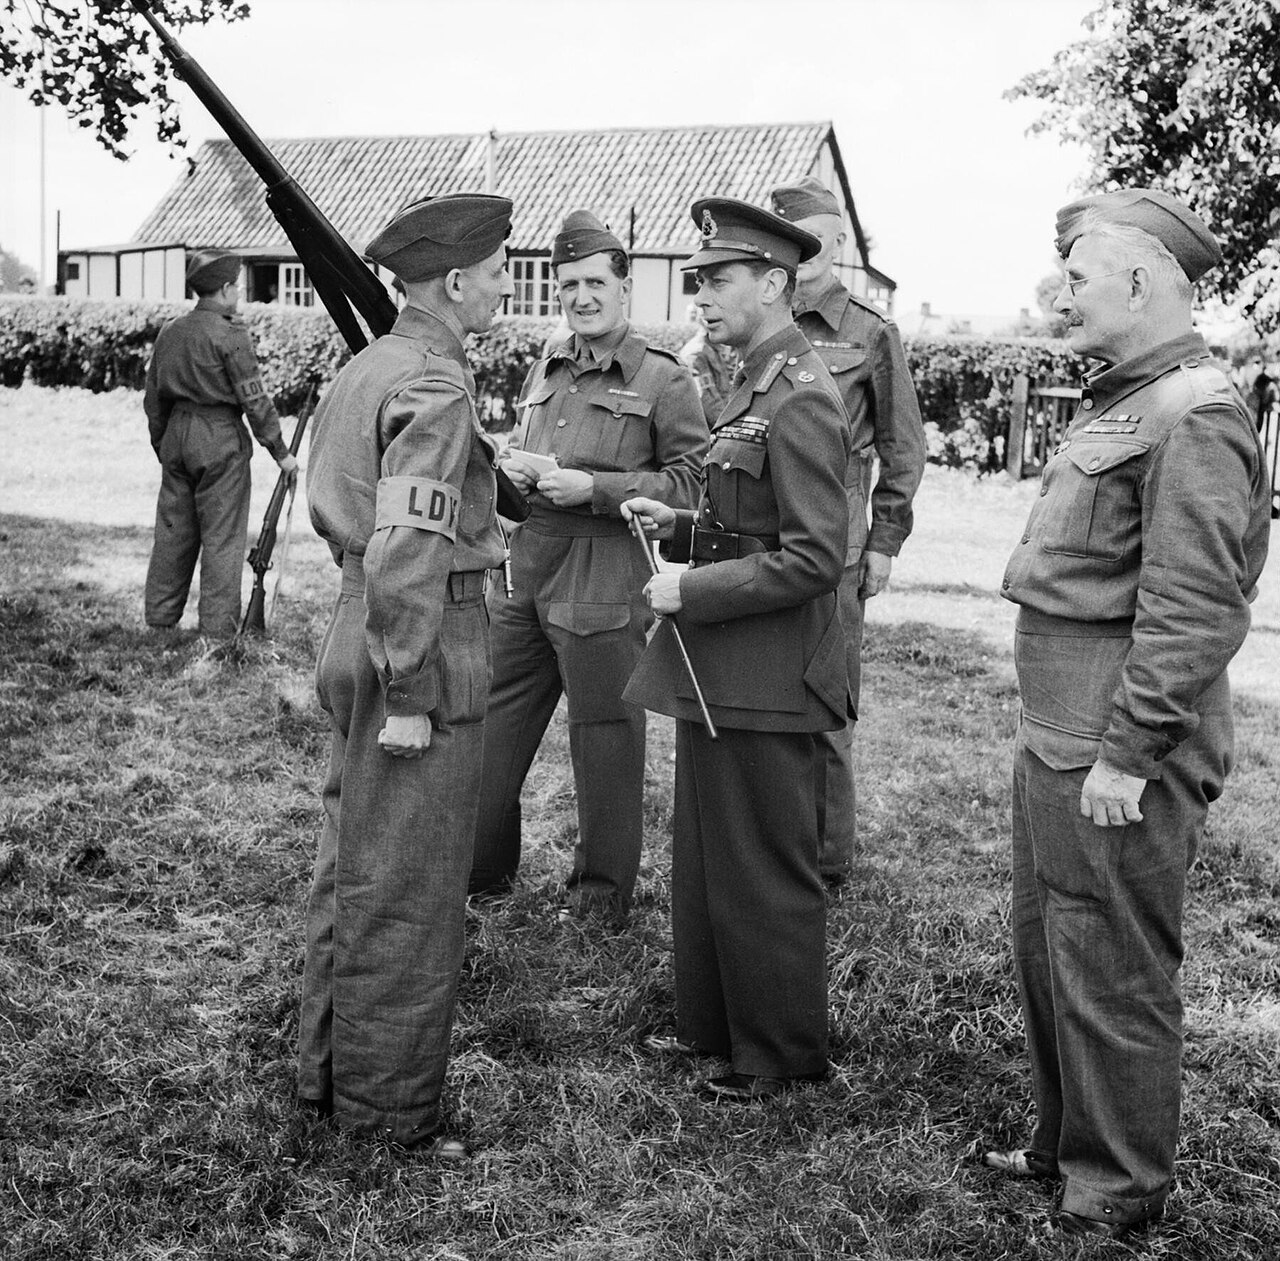
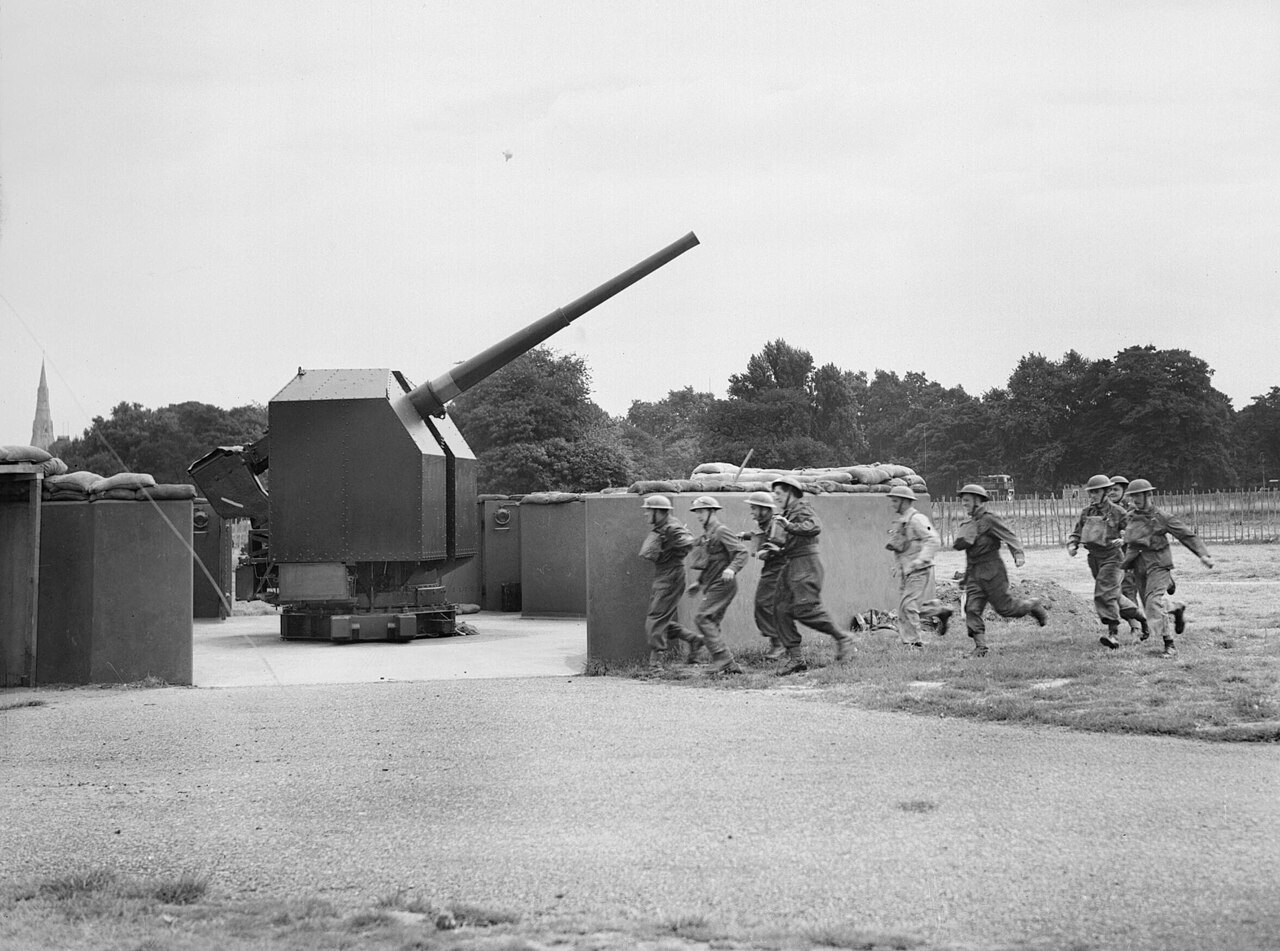
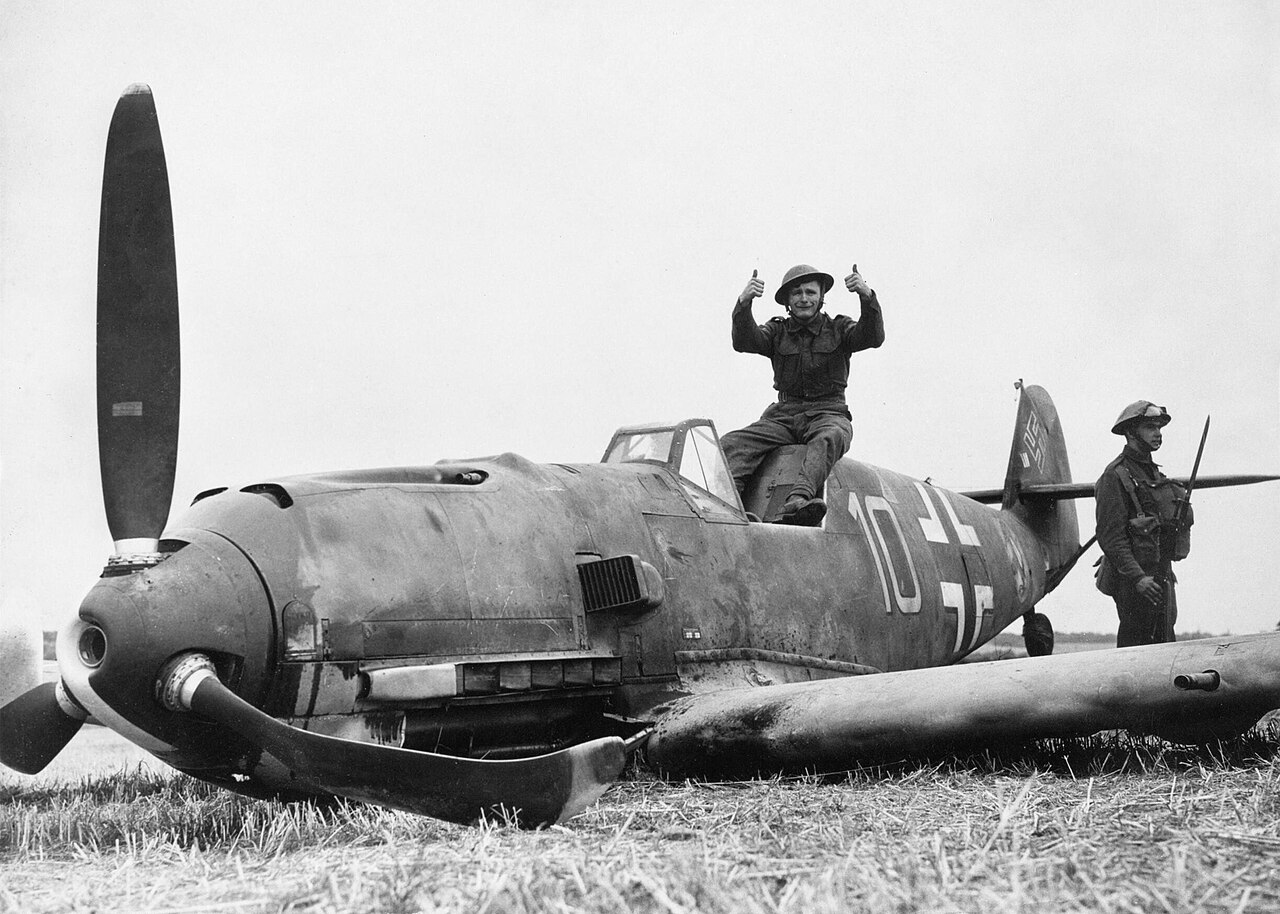
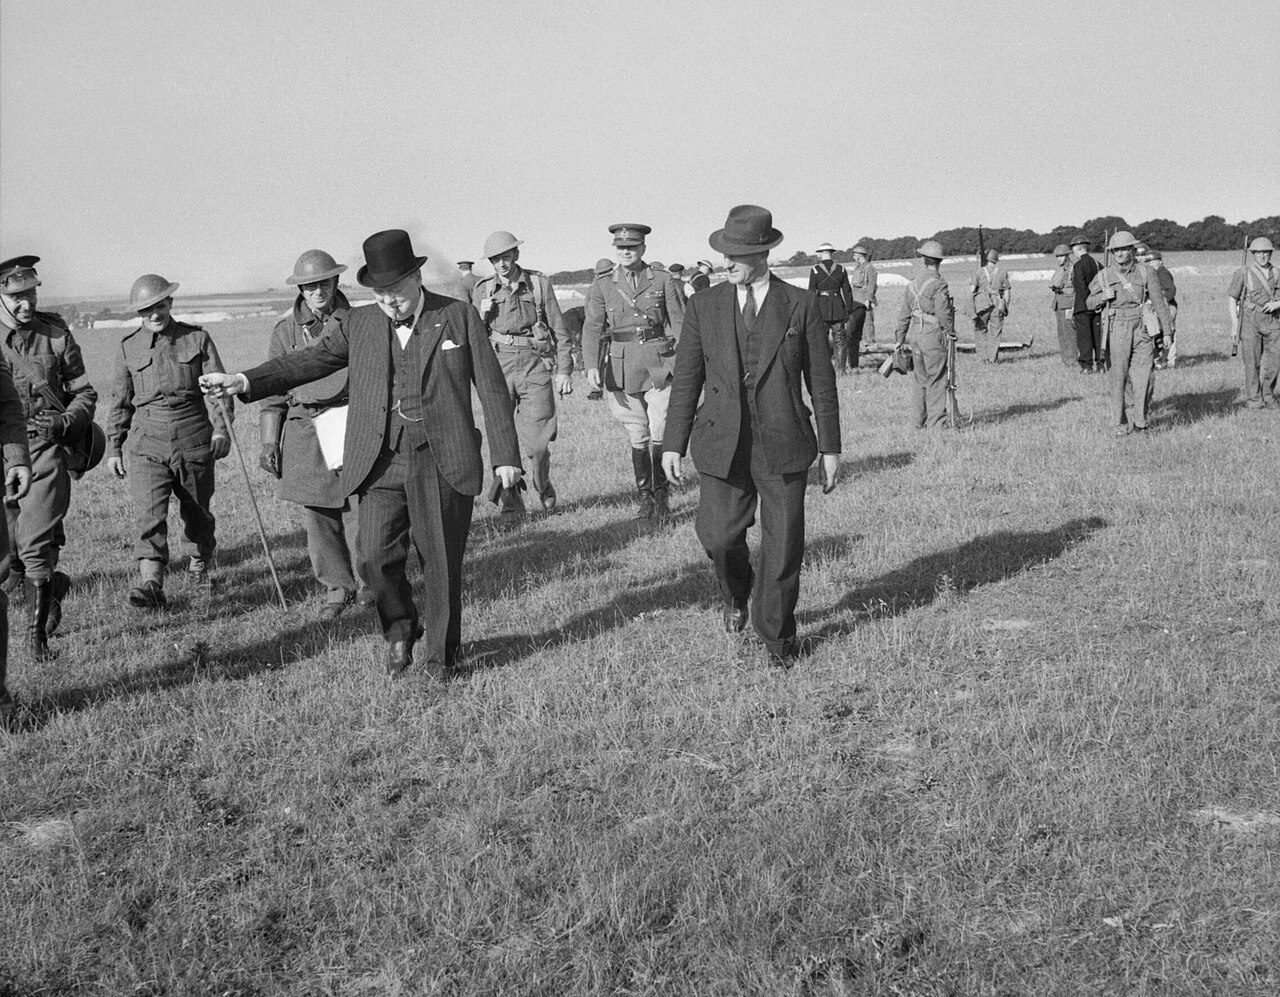
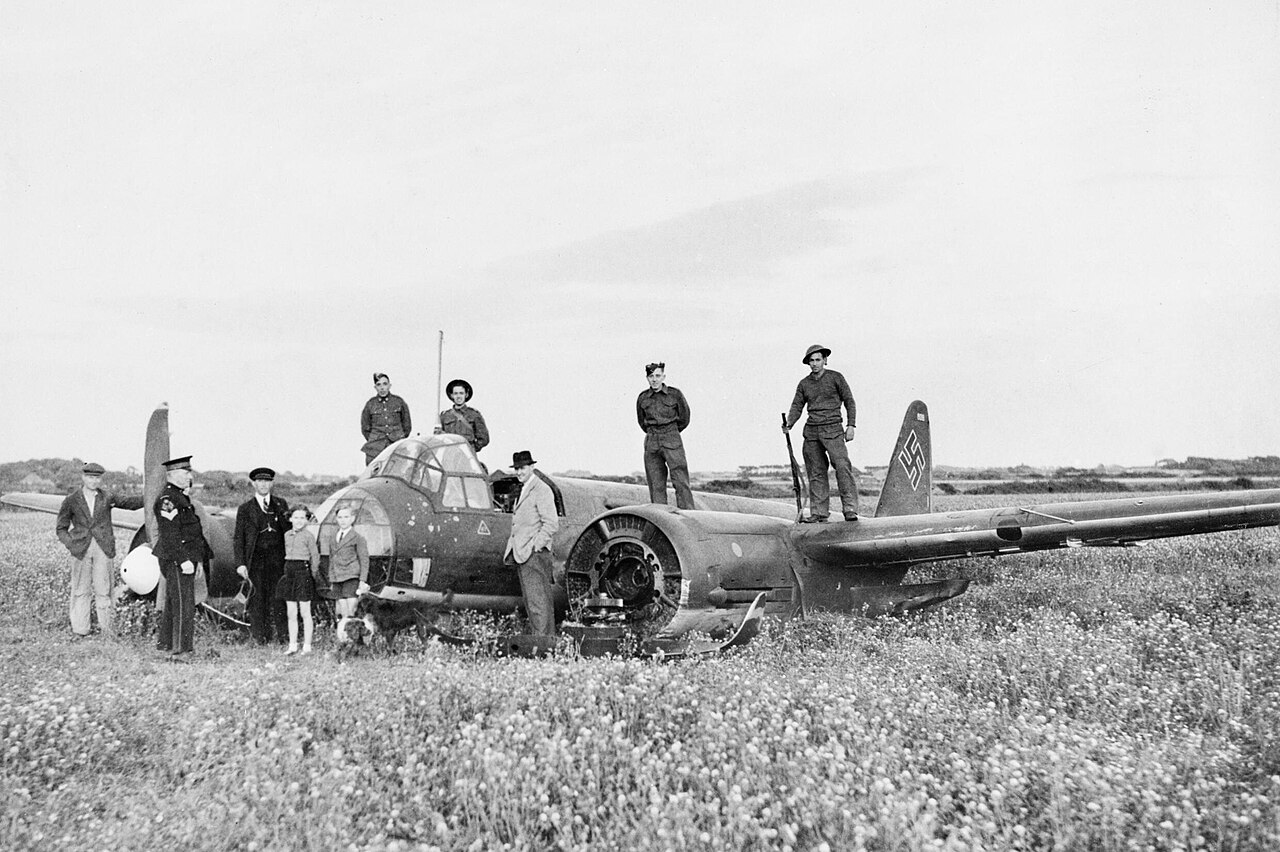
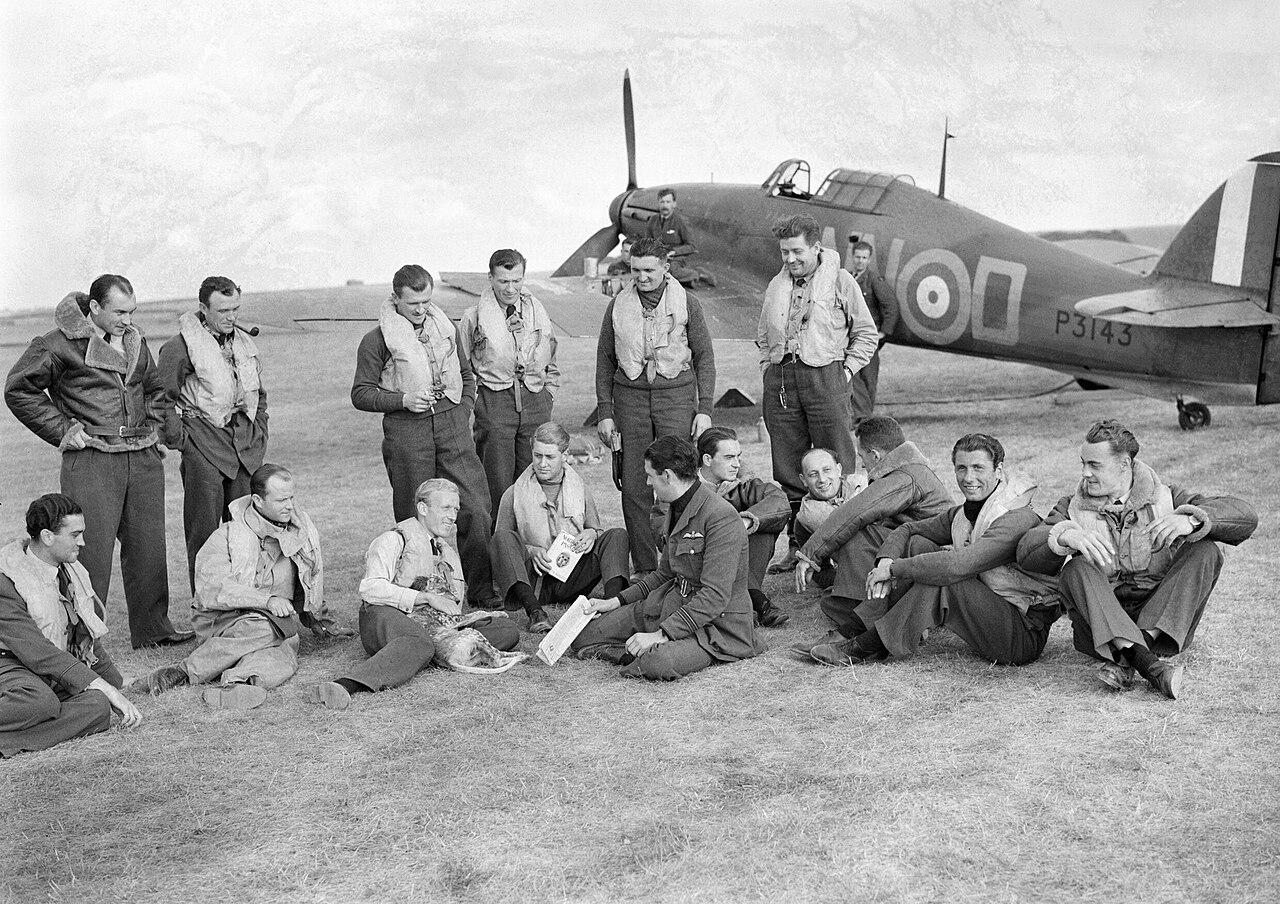
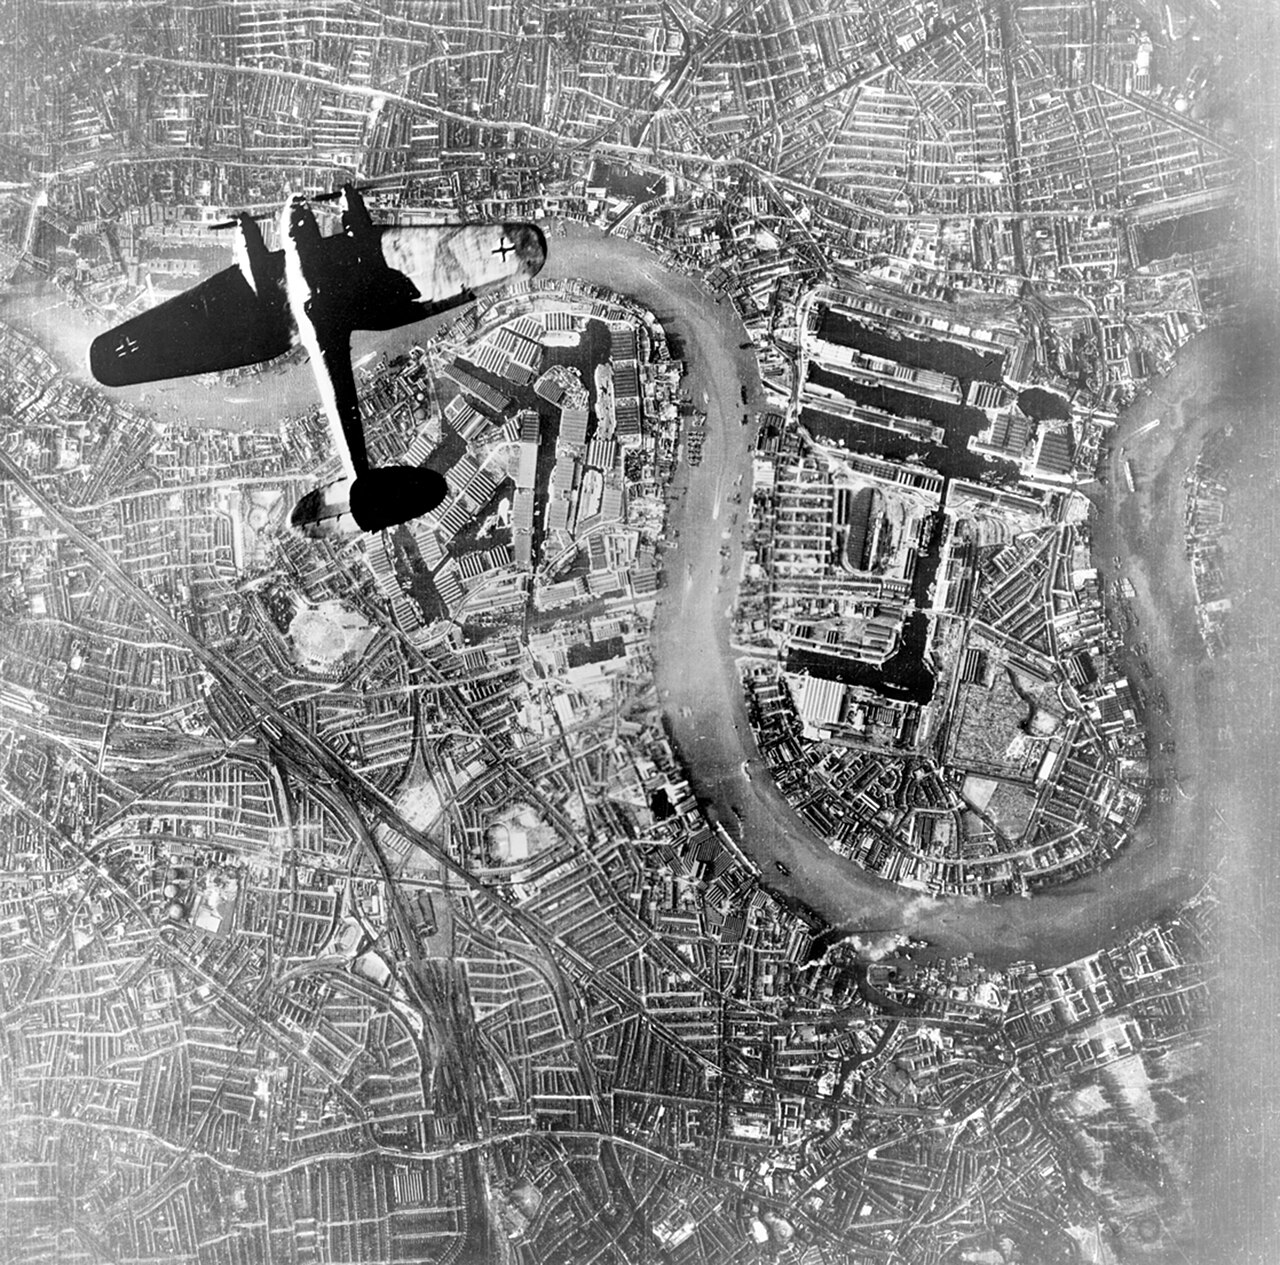
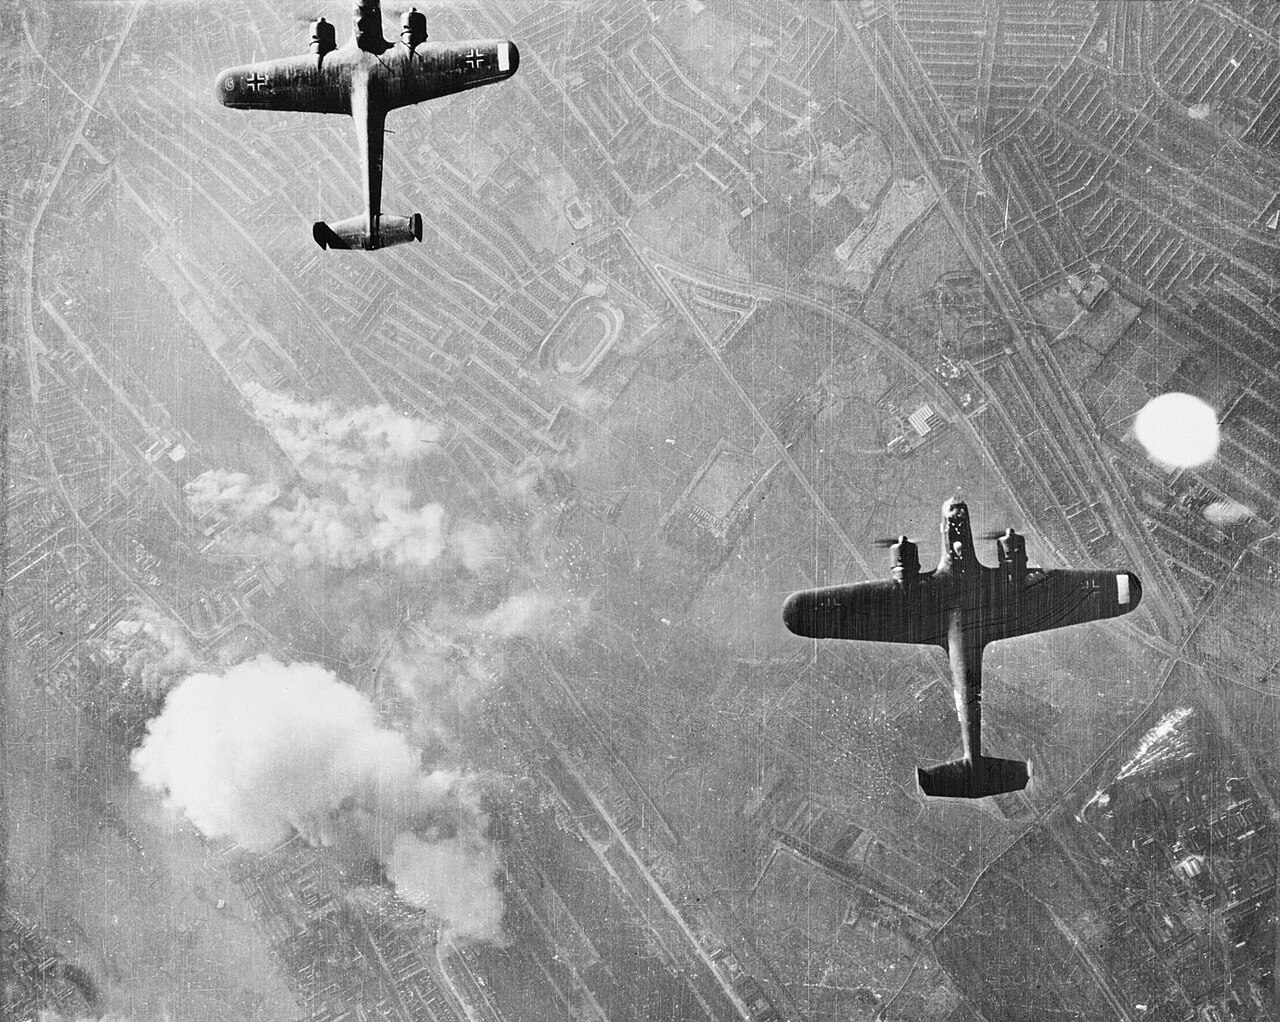
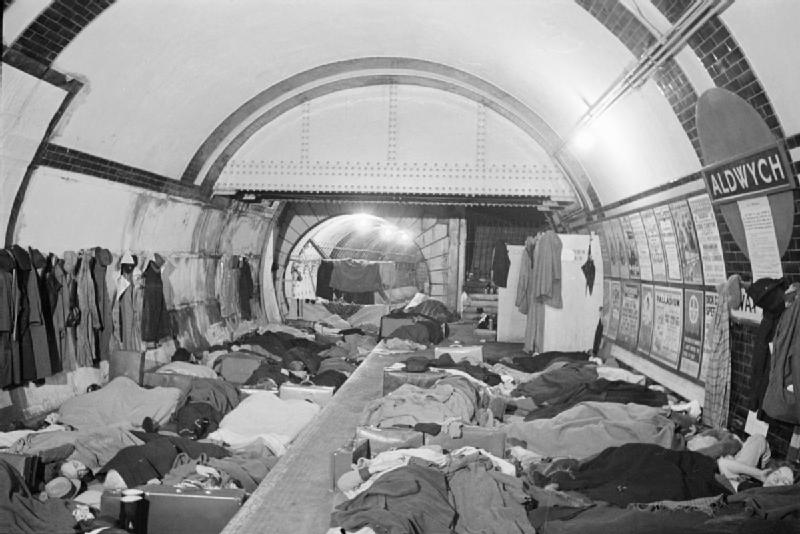
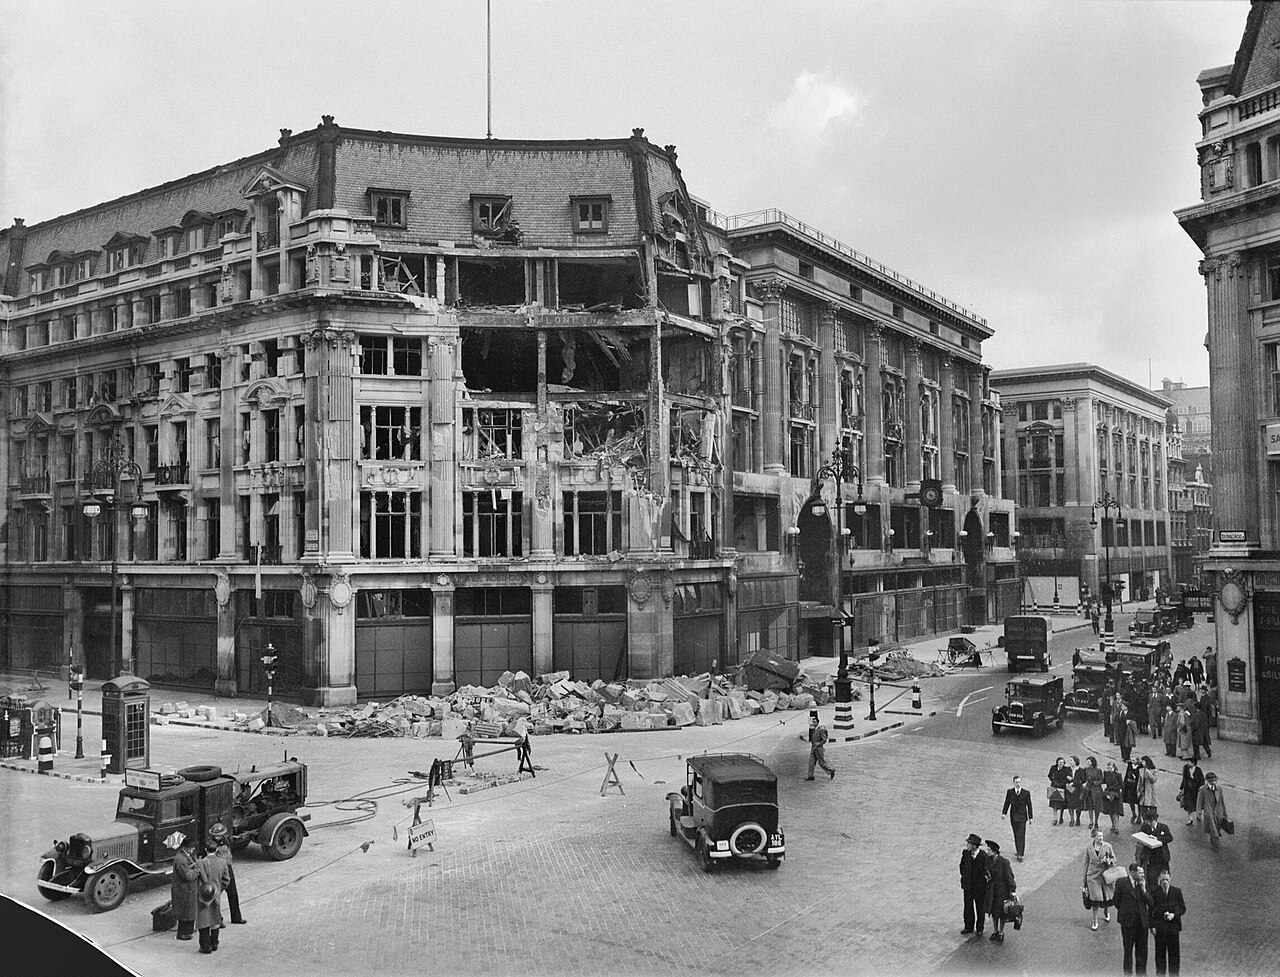
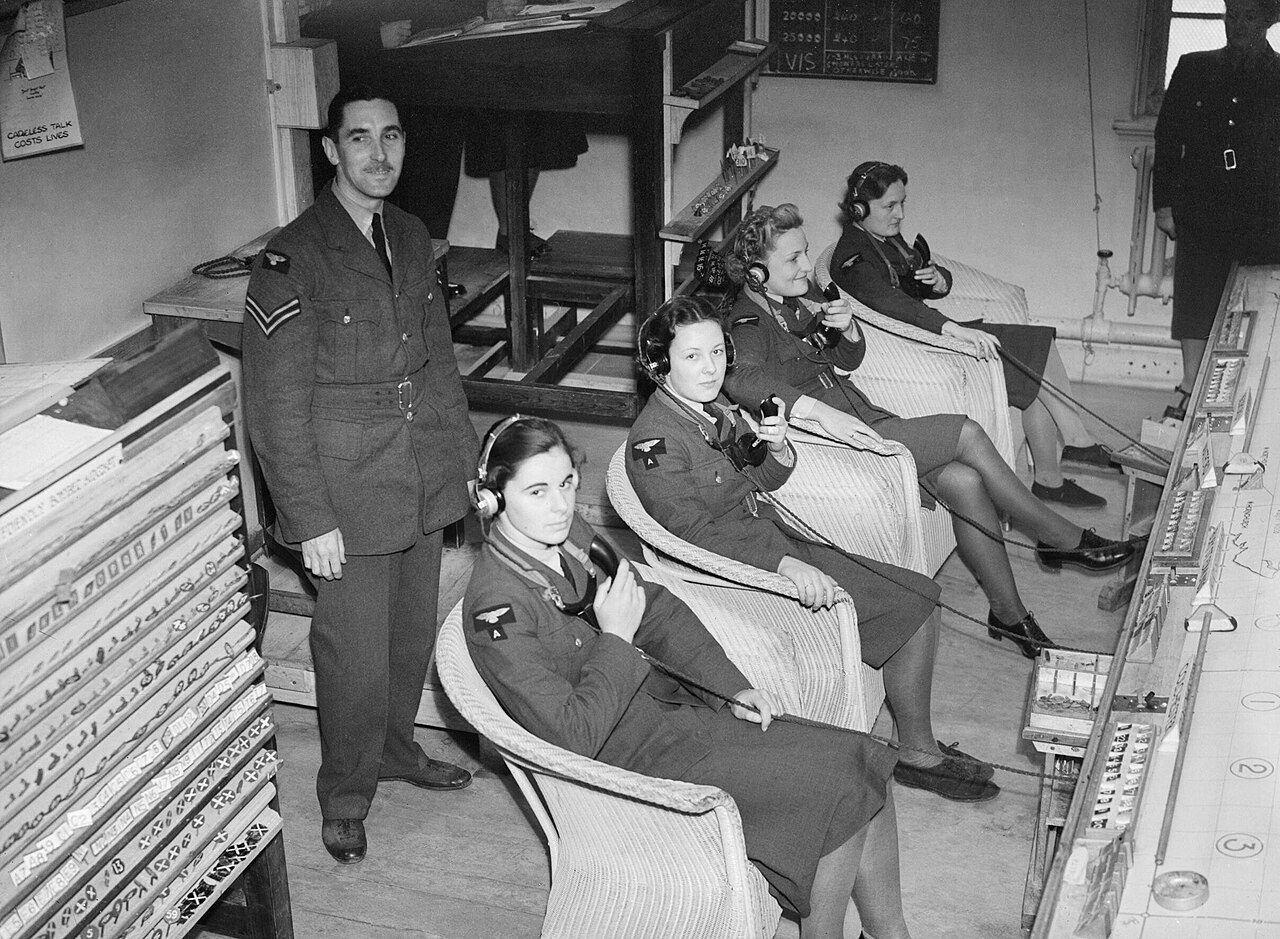
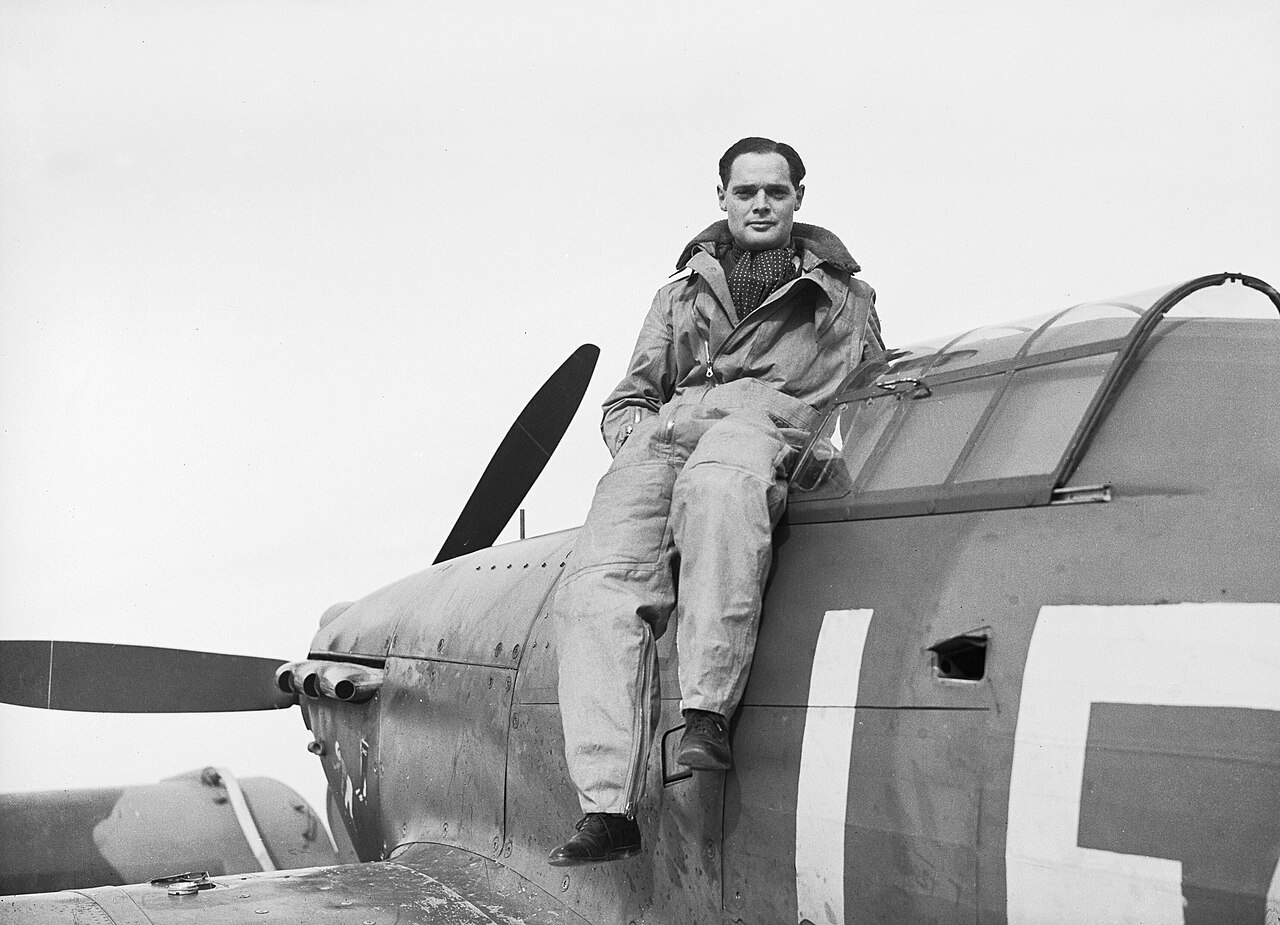
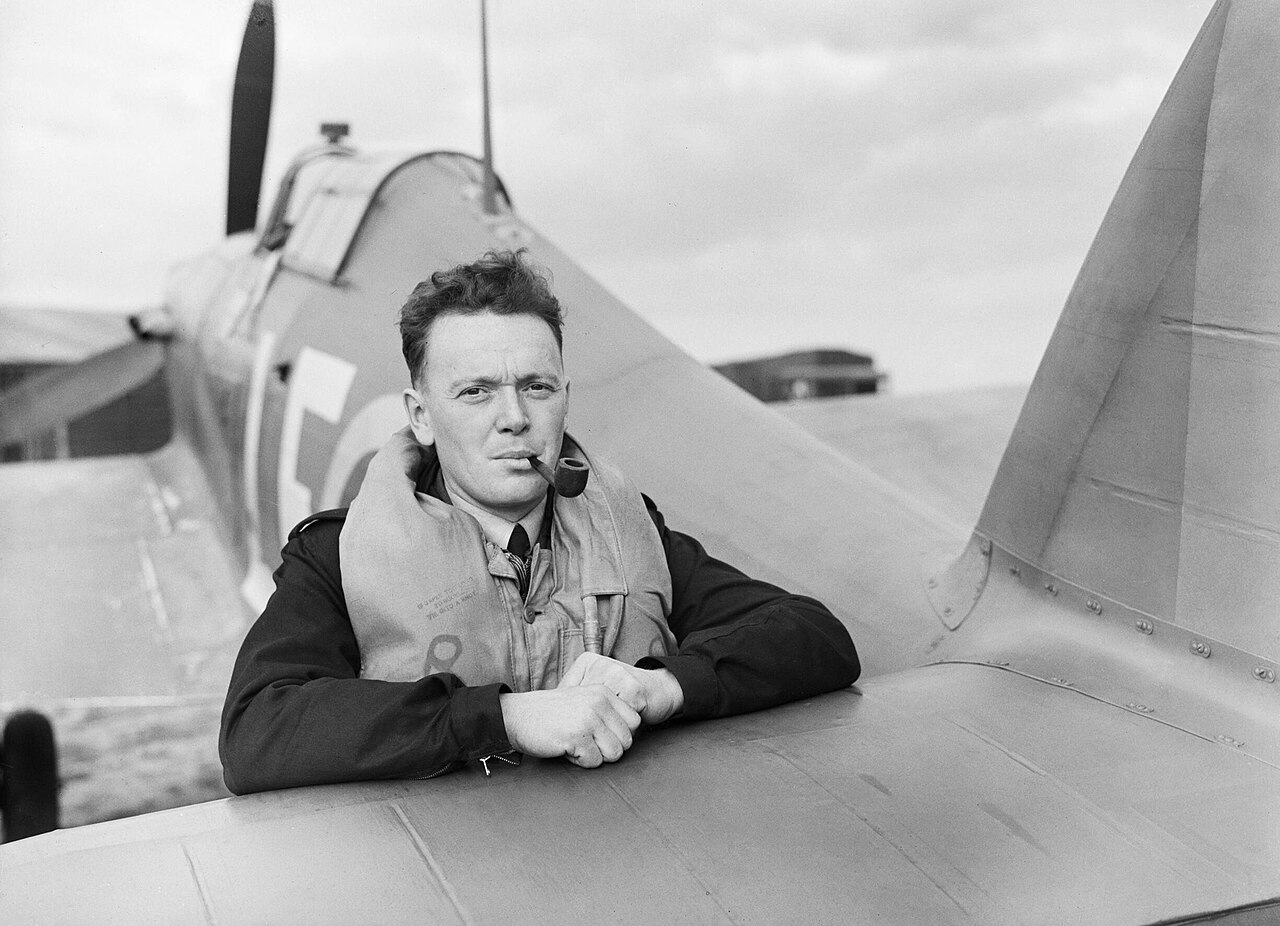
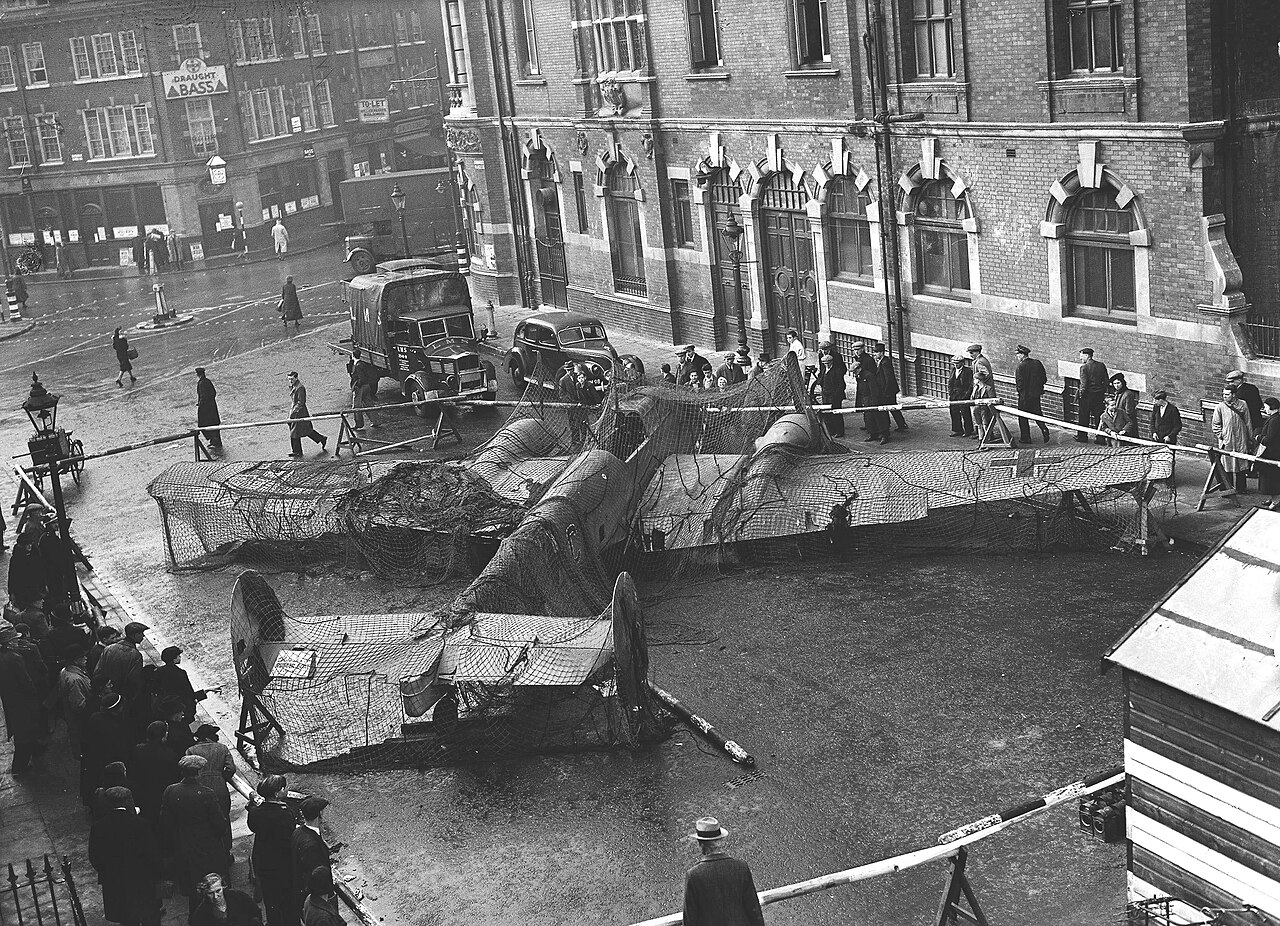
Air Chief Marshal Sir Hugh Dowding, commander-in-chief of RAF Fighter Command. The system he built, linking radar, the Observer Corps and the sector stations, is the reason the battle was fought the way it was. He was moved out of the job that November. Photo: Ministry of Information official photographer. A 360-foot transmitter tower at Bawdsey, one of the Chain Home radar stations that gave Fighter Command warning of raids forming over France. This frame was taken in 1945; the station had been watching the Channel since before the war. Photo: Royal Air Force official photographer. An Observer Corps post in 1940. Radar could not see inland, so once a raid crossed the coast it was tracked by ear and eye, and phoned through to the operations rooms. Photo: Press agency photographer. A Boulton Paul Defiant of No. 264 Squadron at Kirton-in-Lindsey, August 1940. The turret fighter had no forward-firing guns and was mauled in daylight; the squadron was pulled back to night work. Photo: Royal Air Force official photographer, B. J. Daventry. Pilots and gunners of No. 264 Squadron pass the time with a game of draughts at readiness. Most of a fighter pilot’s day was spent like this, waiting for a telephone. Photo: Royal Air Force official photographer, B. J. Daventry. King George VI talks to a member of the Home Guard during an inspection in Kent, August 10, 1940, three days before the Luftwaffe’s main offensive opened. Photo: War Office official photographer, William George Horton. A 4.5-inch anti-aircraft gun crew take their positions on Clapham Common, London, August 20, 1940. Photo: War Office official photographer, Capt. Console. Soldiers pose with a Messerschmitt Bf 109E-4 of 6./JG 51 that crash-landed in England, August 1940. Every German aircraft brought down over Britain was a crew lost for good; RAF pilots who baled out often flew again the same week. Photo: Unknown photographer.Winston Churchill and his party walk away from the crash site of a Messerschmitt Bf 109, August 28, 1940. Photo: War Office official photographer, Capt. Horton.Troops and civilians gather around a Junkers Ju 88 of 4./KG 54 that belly-landed at Earnley in Sussex, August 1940. Downed aircraft drew crowds all summer. Photo: Press agency photographer. Pilots of No. 310 (Czechoslovak) Squadron in front of a Hawker Hurricane at Duxford, September 7, 1940. Most had already lost one air force and flown in a second before they reached this one. Photo: Royal Air Force official photographer, Stanley Devon. A Heinkel He 111 over Wapping and the Isle of Dogs at the start of the evening raids of September 7, 1940 — the day the Luftwaffe turned from the airfields to London. Taken from another German aircraft. Photo: German Air Force photographer. Two Dornier Do 17s over West Ham on September 7, 1940, above fires burning near the Beckton gas works. Photo: Royal Air Force official photographer. Via Wikimedia Commons.Londoners sheltering on the platform and track at Aldwych Underground station, 1940. The government had argued against letting people use the tube as a shelter; the crowds settled the question themselves. Photo: Ministry of Information Photo Division photographer. The Peter Robinson department store at Oxford Circus after a raid, September 1940. Photo: Ministry of Information Photo Division photographer. WAAF telephone operators in the Sector ‘G’ operations room at Duxford take plots from Observer Corps posts, September 1940. Every interception in the battle started with a call like this one. Photo: Royal Air Force official photographer, Stanley Devon. Pilots of No. 19 Squadron stage a mock scramble from the back of a truck at Fowlmere, September 1940. The Air Ministry caption admits the staging; the squadron’s real scrambles went unphotographed. Photo: Royal Air Force official photographer, Stanley Devon. A Spitfire Mk I of No. 19 Squadron being re-armed between sorties at Fowlmere, September 1940. A trained crew could rearm and refuel a fighter in minutes, which on the worst days decided how many sorties a squadron could fly. Photo: Royal Air Force official photographer, Stanley Devon. Ground staff refueling a Spitfire Mk IIA of No. 19 Squadron at Fowlmere, September 1940. Photo: Royal Air Force official photographer, Stanley Devon. Flight Sergeant George “Grumpy” Unwin of No. 19 Squadron climbs out of his Spitfire at Fowlmere after a sortie, September 1940. Photo: Royal Air Force official photographer, Stanley Devon. Flying Officer Leonard “Ace” Haines of No. 19 Squadron on his Spitfire at Fowlmere, September 1940. He survived the battle and was killed in a flying accident the following year. Photo: Royal Air Force official photographer, Stanley Devon. Squadron Leader Douglas Bader, commanding No. 242 Squadron, on his Hurricane at Duxford, September 1940. He had lost both legs in a 1931 crash and argued hard for massing squadrons into a “Big Wing” — a tactic Keith Park’s 11 Group thought took too long to assemble. Photo: Royal Air Force official photographer, Stanley Devon. Flight Lieutenant P. S. Turner of No. 242 Squadron rests on the tail of his Hurricane after landing at Fowlmere, September 1940. Photo: Royal Air Force official photographer, Stanley Devon. A captured Messerschmitt Bf 110 put on public display outside Finsbury Town Hall in London, October 1940. Wrecks were toured round towns to raise money for Spitfire funds. Photo: Unknown photographer. Pilots of No. 303 (Polish) Squadron at Northolt, October 1940. They came into the battle at the end of August and finished it as Fighter Command’s top-scoring squadron on claims, though postwar research trimmed the totals on both sides. Photo: Royal Air Force official photographer, Stanley Devon.